
How to clear specific entries in FileZilla Quickconnect list
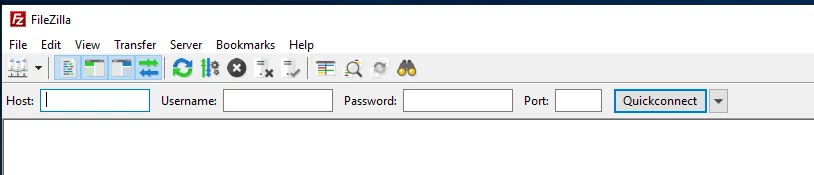
To connect to an FTP account for the first in FileZilla, you must enter the host (domain name or Ip address), the account username, password, and an optional port number, and then click on the Quickconnect button.
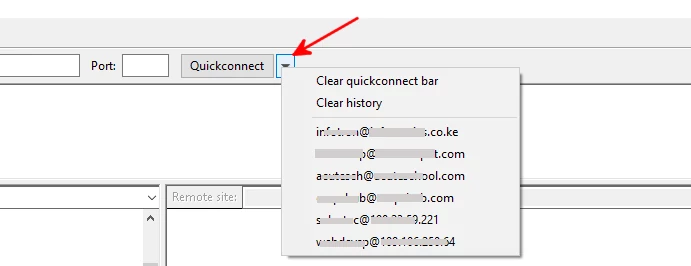
When connecting to the same FTP account again, you don't need to re-enter the same credentials again, just simply click on the dropdown menu button next to the "Quickconnect" button. A drop-down menu with a list of the last 10 servers/accounts connected will appear.
You can then click on any entry in the list to connect to that account and you won't be required to enter the credentials.
As you keep connecting to new accounts, the list builds up. The Quickconnect bar does not store more than 10 entries. Therefore, if the entries exceed 10, the oldest automatically gets deleted from the list.
If you do not want the entries to be deleted from the list in the order they were first connected, starting with the oldest, you may want to delete some entries or rearrange them in the order of your preference.
Rearranging them will prevent the automatic deletion of the oldest accounts that you want to retain in the list. It also helps easy access to your frequently used accounts by placing them at the top of the list where they are easy to spot.
Deletion of entries helps in getting rid of accounts that you no longer need to connect to or those whose credentials have been changed. It also helps in decluttering the list.
Another advantage of being able to delete Quickconnect list entries is to avoid accidental updates of files on the wrong site. You can remove the entries of the sensitive sites/accounts to avoid selecting them by mistake.
However, you will notice that there is no way to delete or rearrange specific entries of the Quickconnect list via the FileZilla GUI (Graphical User Interface). The only available option is clearing the whole list. Maybe it could be better if there was a right-click functionality on entries with a delete option.
To delete, edit or rearrange the Quickconnect bar list entries of the FileZilla FTP client, you will need to open and edit the recentservers.xml file of FileZilla, which stores a record of the last 10 connected accounts and their credentials.
Editing the FileZilla recentservers.xml file
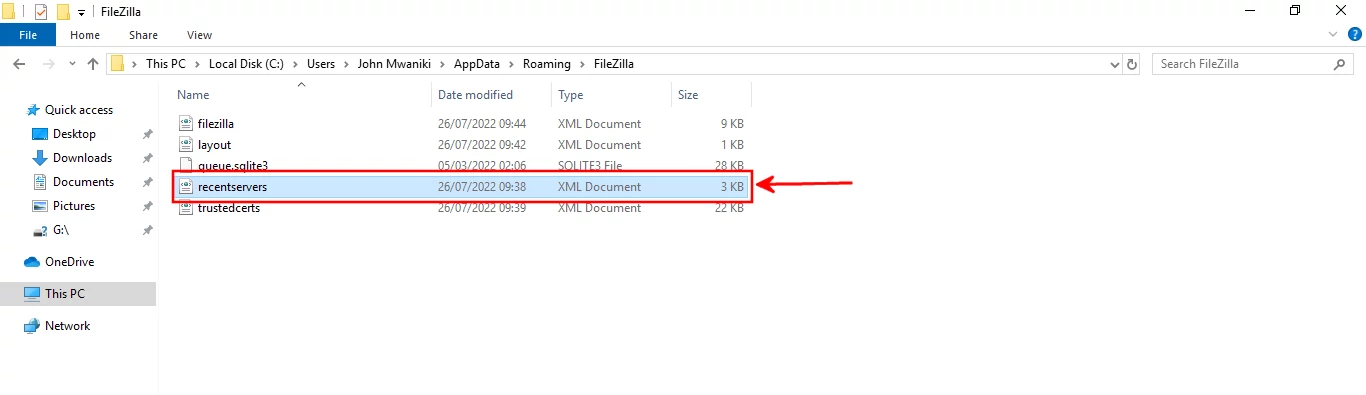
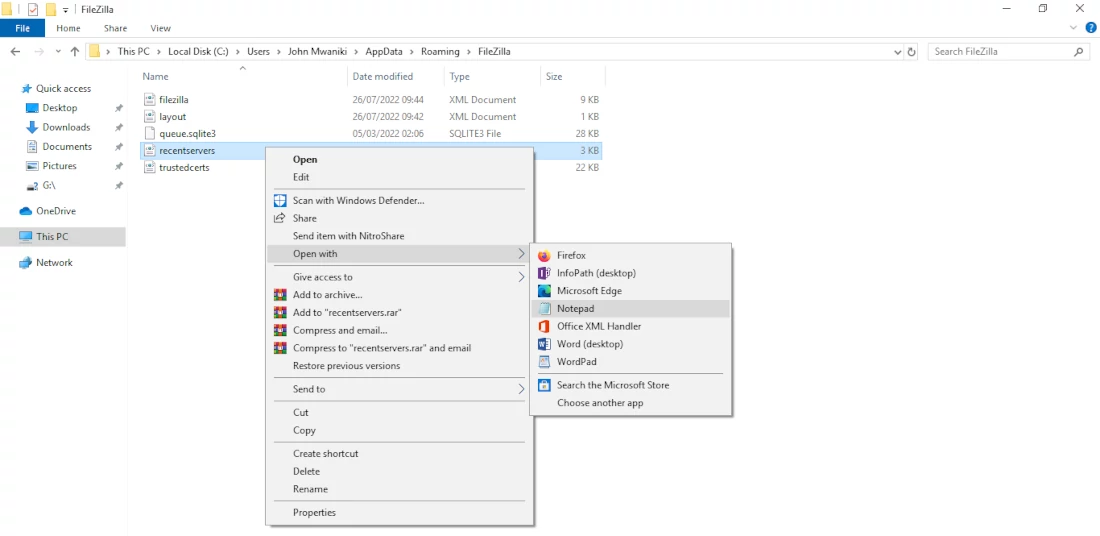
In Windows (10), the recentservers.xml file is located in the "C:\Users\UserName\AppData\Roaming\FileZilla" directory.
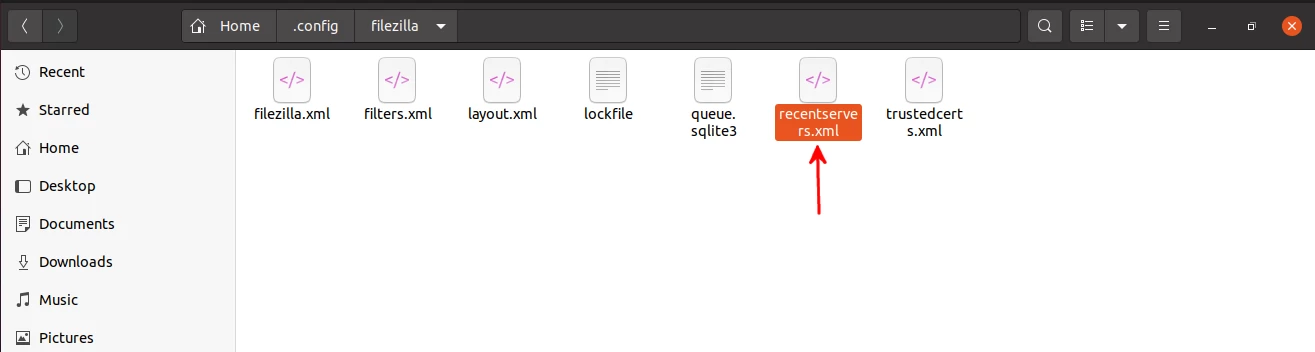
On Ubuntu, the recentservers.xml file is located in the "/home/.config/filezilla" directory. You will need to enable the showing of hidden files in the File Manager (by using the Ctrl+H shortcut) to open the directory since the ".config" is a hidden folder and not visible by default.
To open the file for editing, just right-click on the file, hover over Open with submenu in the context menu, and select Notepad or another text editor in the options available.
You can alternatively open the text editor, then drag and drop the file into it.
In the XML code, each entry of the list starts with a "<Server>" and ends with a "</Server>" as shown below.
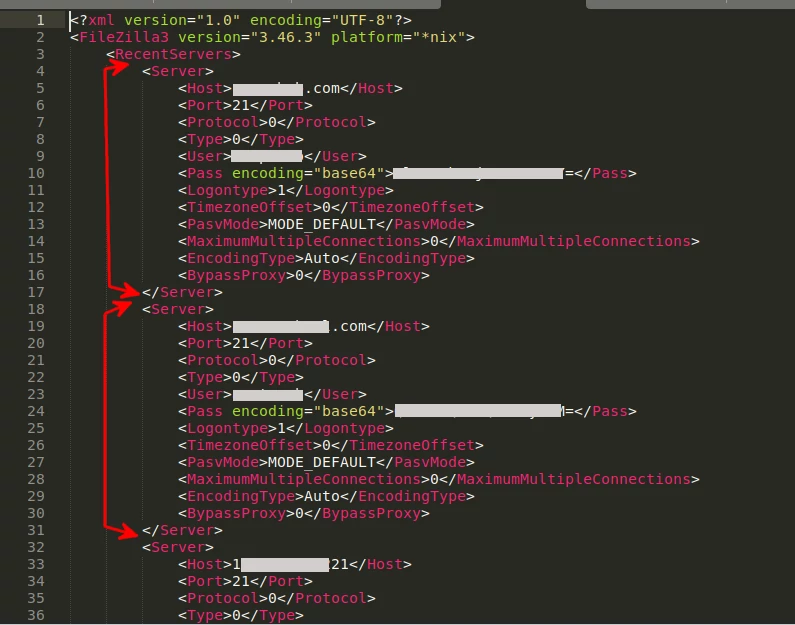
Similar to the GUI, you can see the host labeled as "Host", Username as "User", password as "Pass" (it is base64 encoded), and port as "Port".
To delete an entry, select everything from its opening <Server> and closing </Server> and then delete.
To rearrange the entries, just select the code in the same way and move it to any position of your choice within the <RecentServers> opening and closing tags.
Make sure you save the file after making any changes to it for them to apply.
That's it!
After making the changes and saving the recentservers.xml file, you will notice the new changes in the Quickconnect bar list when you reopen FileZilla.