How to install FileZilla FTP client on Windows
FileZilla is a popular free open-source FTP client that is widely used to transfer files (upload and download) between a PC and a server over a network.
It is built on a client-server model, where it consists of both Client and Server applications. The client application is available for multiple operating systems including Windows, Linux, and macOS.
In this article, we will cover how to install the FileZilla FTP client on Windows 10 through a step-by-step easy-to-follow process.
Related:
How to install FileZilla FTP client on Linux
Downloading FileZilla for Windows
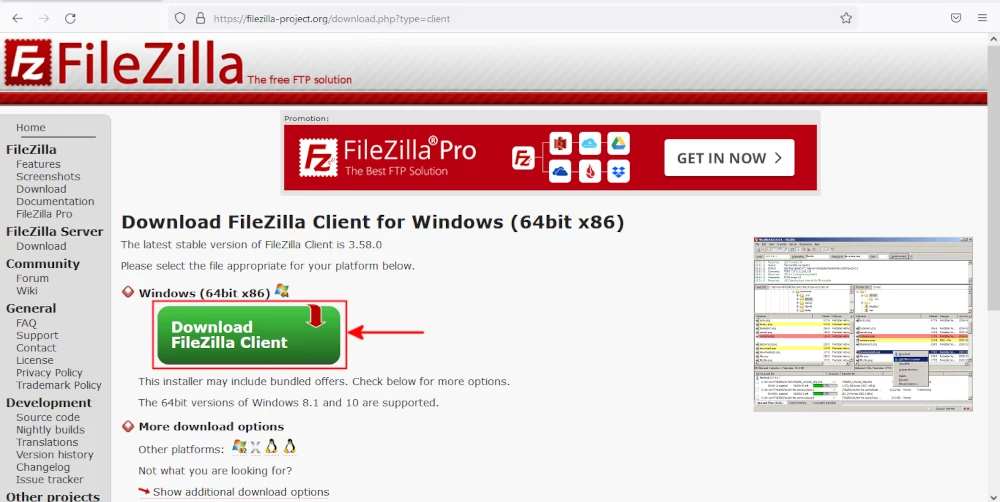
To download FileZilla, visit the Official FileZilla client download page.
The website will detect your operating system and automatically choose for you the right version for your platform. Click on the big "Download FileZilla Client" button to download it.
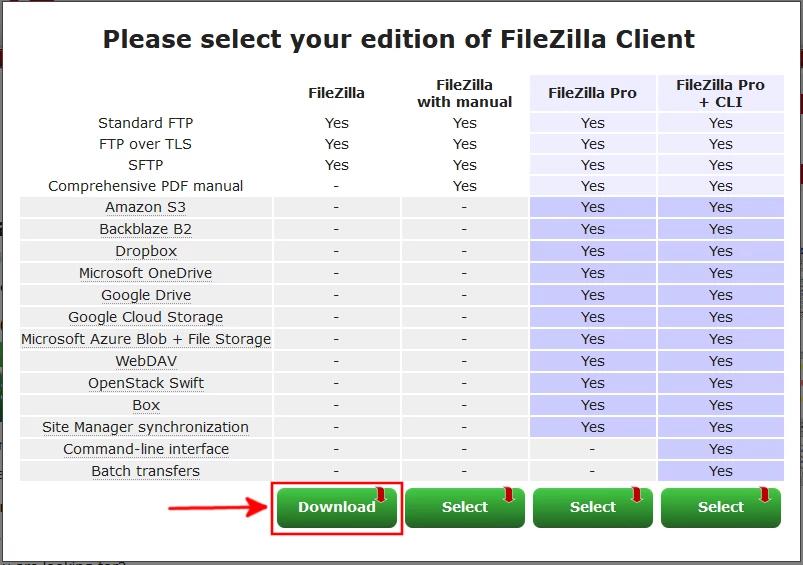
In case you want to download it for installation on another PC with a different OS/platform eg Linux, macOS, or Windows 32 bits, switch them under the "More download options" section.
Click on the "Download" button on the pop-up modal that appears.
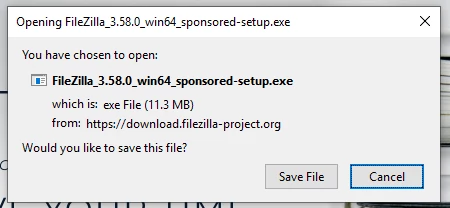
Click on the "Save File" button to save the FileZilla setup into your PC's storage.
Installing FileZilla on Windows 10
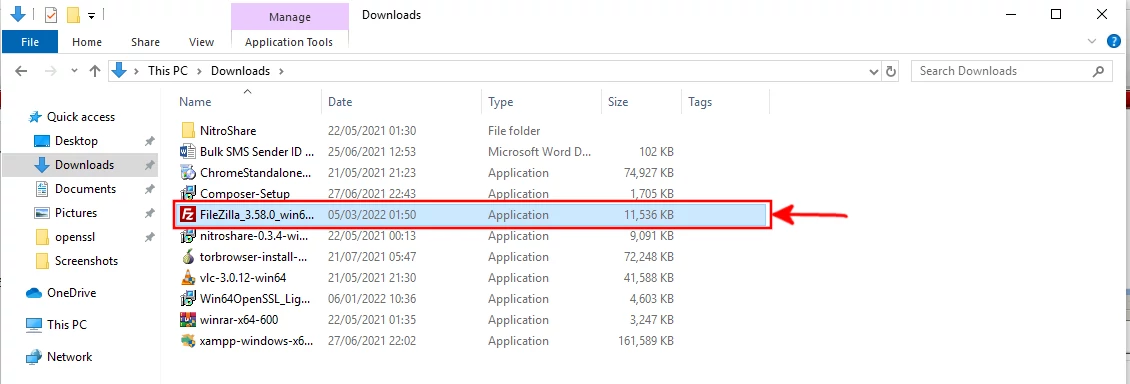
Step 1: Open the location where the FileZilla file was downloaded and double-click on it. Alternatively, right-click on it then on the "Run as administrator" option.
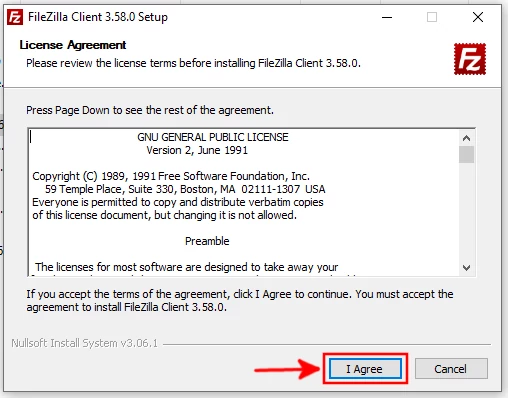
Step 2: Click on the "I Agree" button to accept the FileZilla license agreement.
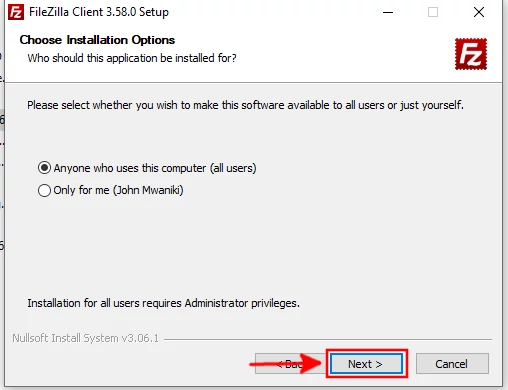
Step 3: Choose the appropriate option on whether to install FileZilla for all the users on the PC or just for the currently active user. Then click on the "Next" button to proceed.
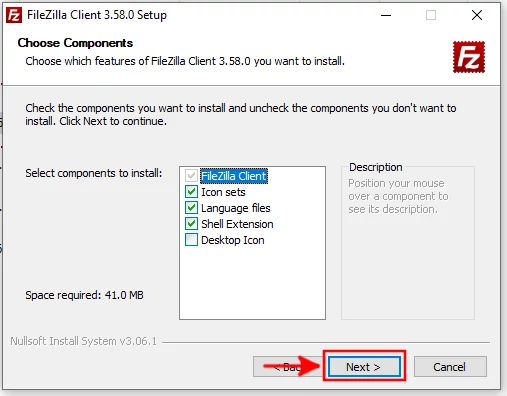
Step 4: Choose the FileZilla components to install by ticking or unticking the checkboxes. I recommend you leave them as they are, and if you would want to have a Filezilla icon on the desktop, tick on its checkbox. Then click on the "Next" button to continue.
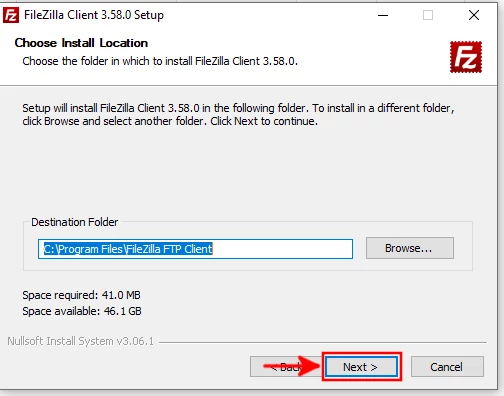
Step 5: You will be presented with an option to select the location in which you would like FileZilla to be installed. The default installation path is already selected for you. To change it, you can write the full path of the new location in the textbox or click on the "Browse" button to select it. I recommend you leave it as it is by default. Then click on the "Next" button to continue.
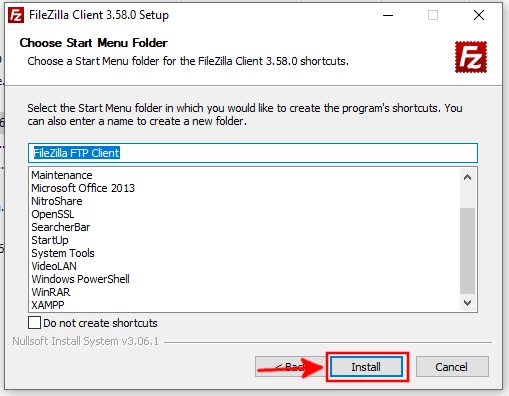
Step 6: Click on the "Install" button to start the installation.
The installation progress bar will load for a short while.
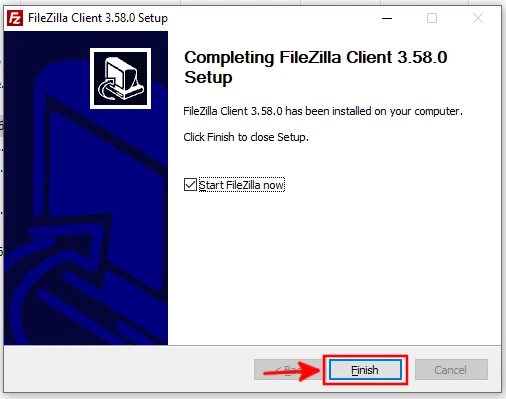
Step 6: You will be notified that the installation is complete and to click on the "Finish" button to exit the setup. On clicking the button the FileZilla application will be opened automatically. If you don't want it to open, deselect/uncheck the "Start FileZilla now" checkbox before clicking on the finish button.
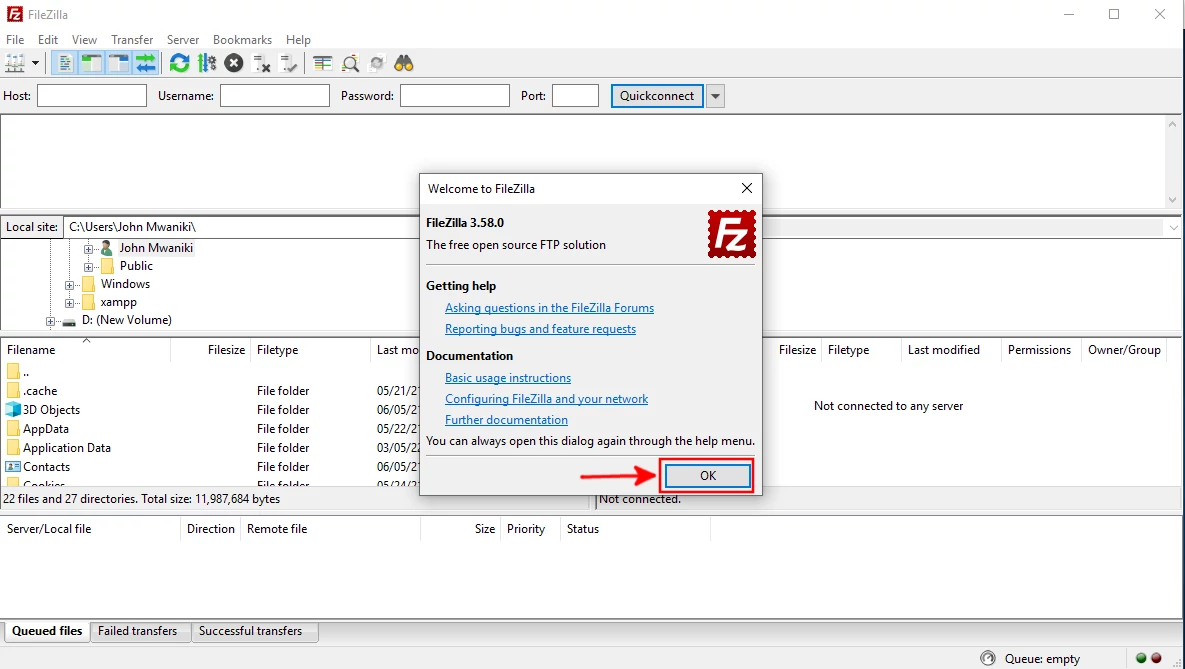
Click on the "OK" button to close the Welcome dialog when FileZilla opens.
To launch FileZilla on Windows, just open the start menu and click on its icon among the list of applications. Alternatively, you can type its name once you open the start menu and the system will search it for you.
You can now comfortably and easily download and install the FileZilla FTP client on your Windows PC. It's my hope you enjoyed this tutorial.