
How to add/install new fonts to your PC on Ubuntu Linux
Fonts are a very crucial component of information presentation. It plays a major role in determining how the readers perceive information from the text.
When writing on different materials, sometimes we use fonts out of preference and other times as a requirement.
You are very likely to find yourself in a scenario where the font you want to use is not available in your system by default. For instance, if you are a graphic designer, chances are that some of the fancy fonts you will need to use in your design work aren't available on your system.
Sometimes you will be given instructions to use a specific font in writing some documents and/or branding materials. For example, Times New Roman and Calibri fonts are very widely used in academic works. They are available by default on Windows OS. But if you are using Linux distros and working on Libre office or other applications such as GIMP, you will notice that they aren't available on the fonts list.
This should not however stop you from working on your documents on Linux, but you will need to install the fonts in order to use them.
The fonts can be directly installed on your system, or on specific applications. For instance, this is how to install new fonts on GIMP. It's however more recommended to install fonts directly into the system as they will instantly become available across all applications as opposed to installing them on one specific application where they will be only accessible to it.
In this article, you will learn how to install new fonts on your Ubuntu system through a step-by-step process for use across all the software on your PC.
The installation of new fonts on Ubuntu involves 2 main steps:
- Getting the new font files
- Adding the font files to the fonts' folder
Getting the new font files
There are many different ways of acquiring your preferred font files such as when someone who already has them shares with you. But the most common and easiest way is downloading them online.
There are hundreds of websites where you can easily download almost any font you want for free. Just doing a simple Google search of the font's name will give you countless results of the sites where you can download it.
Below are some of the most popular font websites:
The process of searching and downloading fonts from these websites and across many others is very similar and easy, just like downloading any other type of file from the web.
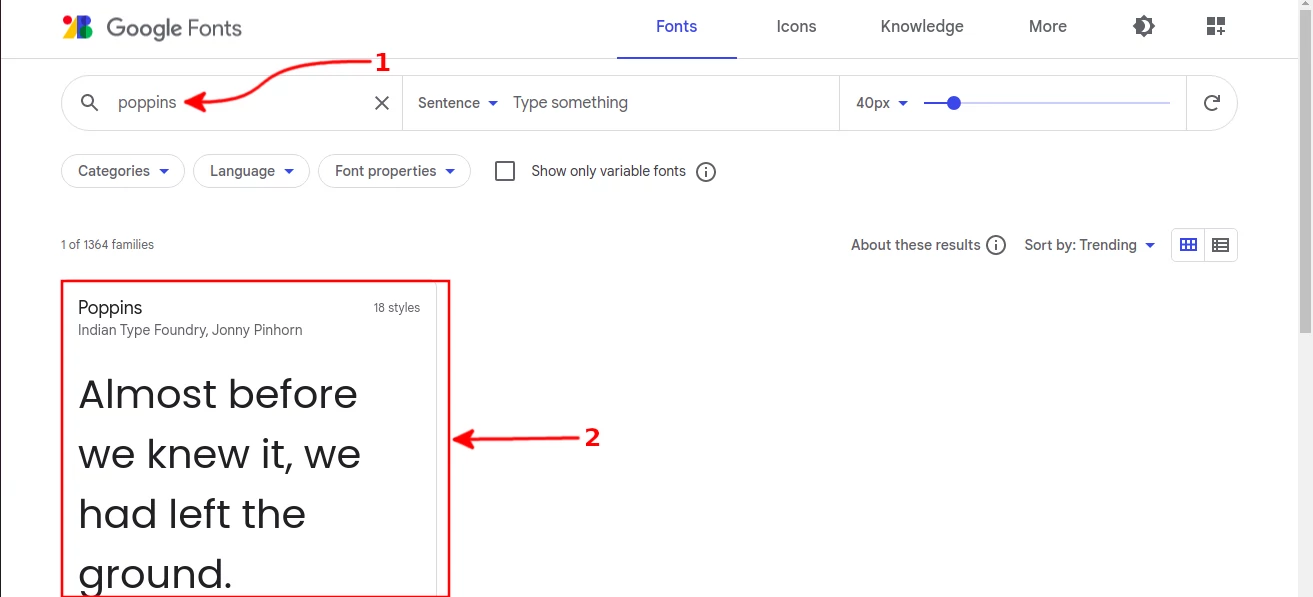
For example on Google Fonts website, you type the font name in the search box and click on the result as shown below.
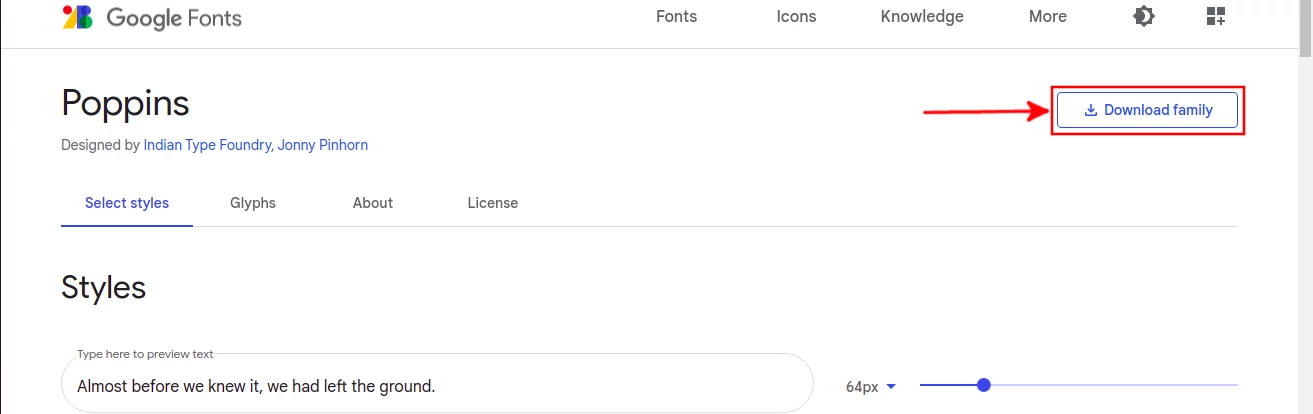
Then click on the "Download Family" button to download it.
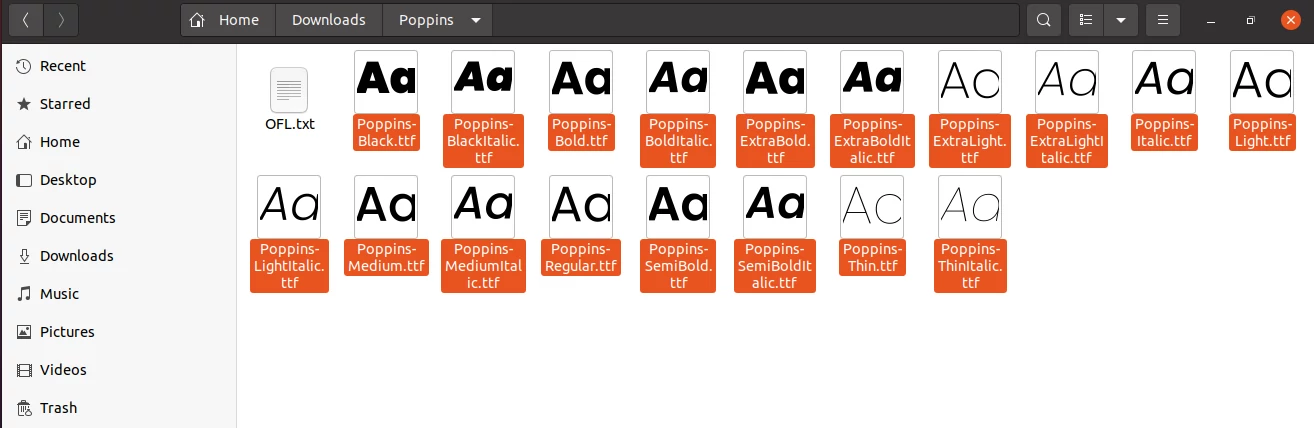
The downloaded file will have an extension ".otf", ".ttf", or ".zip". The TTF (True Type Font) and OTF (Open Type Font) files are the actual individual fonts while a zip file is an archive, which may comprise of a single or a group of related(same family) fonts.
In case the downloaded file is a .zip, then you should extract it and find the .ttf or .otf file(s) inside of the extracted folder. These are what need to be copied into Ubuntu's fonts folder.
Adding the font files to the fonts' folder
Step 1: Open directory/folder in which you downloaded the font (or extracted the .zip file) and copy the ".ttf" or ".otf" file(s).
Step 2: Now open the Ubuntu fonts directory which is located at "/home/.local/share/fonts/" and paste the copied font file(s) into it. The ".local" folder is a hidden directory and is by default invisible in the file manager's normal view. You will need to enable the showing of hidden files in order to open the full path.

Alternatively, you can paste the font files in the "/usr/share/fonts" or "/usr/local/share/fonts" directories.
After doing this, the fonts will have already been installed in your system on Ubuntu.
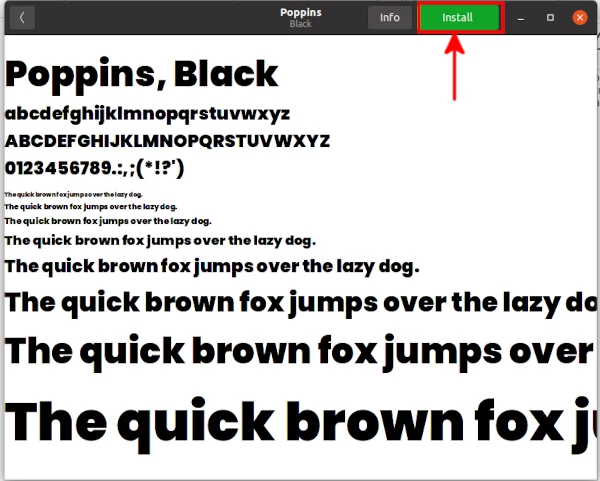
You can also install a font by double-clicking on the file (.otf or .ttf). Then click on the "Install" button.
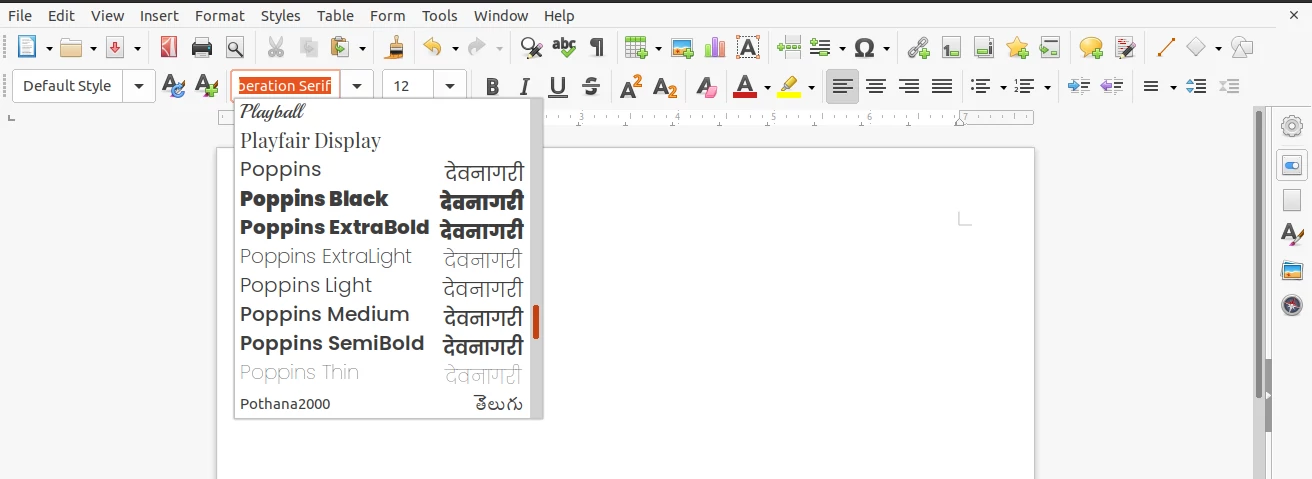
After the font is installed, if you open or restart your applications that involve the use of fonts such as GIMP or Libre office applications, you will notice an addition of new font that you just installed in the font's list and can start using it right away.
You can install as many fonts as you may want at any time.
It's that simple!
Now you are no longer limited to using fonts you don't like or just the available once but you can add as many custom fonts as you would like. It's my hope that you enjoyed this article and found it helpful.
