How to add Google Drive to File Explorer on Windows 10
Google Drive is a cloud-based data storage service that allows you to backup/store files in the cloud and synchronize them for access and use across multiple devices.
If you already have a Google (Gmail) account, then definitely you have a Google drive account already. By default, you are allocated 15GB of Free data storage space, which you can extend (if necessary) by opting for a paid subscription plan.
Via your Google Drive account, you can store files, access them from anywhere on different devices, edit them online, download them, delete them or even share them with other Google accounts.
By default, you have to access the Google Drive account via a web browser. If you need to edit a document on your PC, let's say using Microsoft Word, you will first need to download it, edit it and then upload it again to overwrite the cloud version. It's also likely for you to make changes on a document locally and forget to upload it ending up with two different versions of the same document.
There is an easy way to fix and bypass these limitations caused by having to access the Google Drive account via a web browser. This involves adding Google Drive to Windows File Explorer. It allows you to access and work on files in the cloud using File Explorer as if they are stored locally without having to open a web browser.
In this article, you will learn how to add your Google Drive account to the File Explorer on Windows 10 and how to do the synchronization of files.
Adding Google Drive to File Explorer on Windows
We will cover this process in 4 steps:
- Downloading the Google Drive app
- Installation of Google Drive app
- Signing in to Google Drive account
- Syncing Google Drive with PC
1. Downloading the Google Drive app
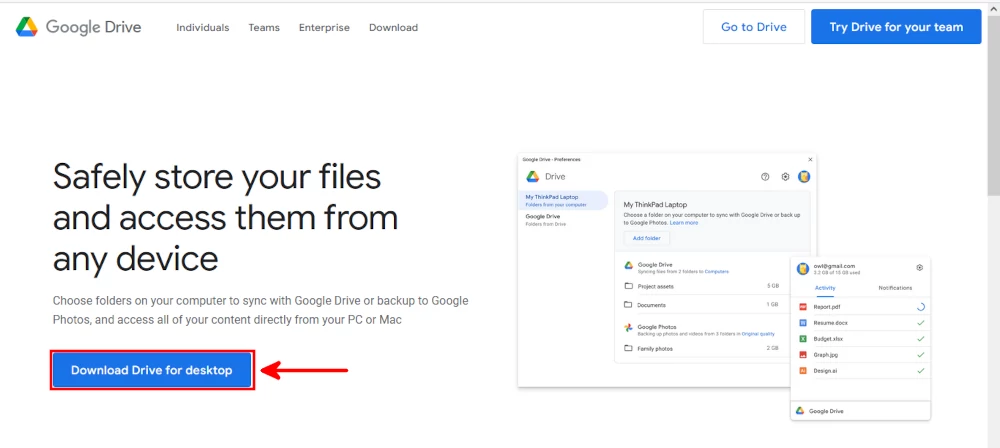
Visit the Google Drive download page. You will see the page below, click on the Download Drive for desktop button.
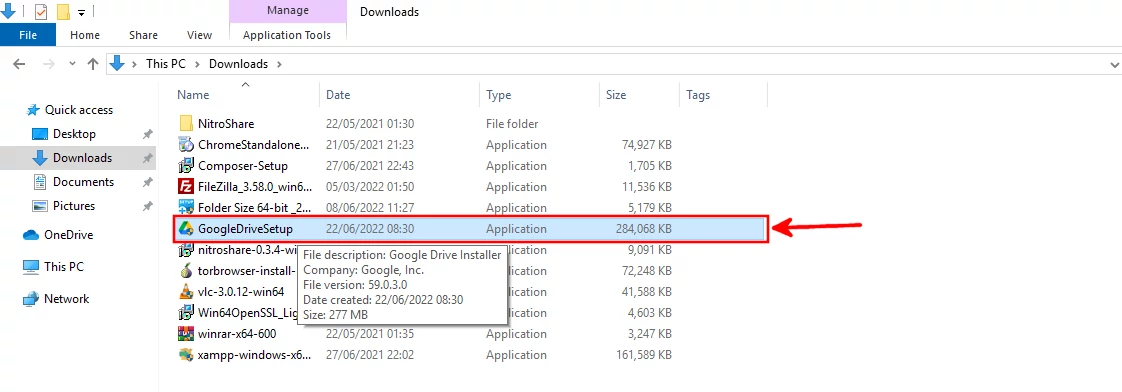
The setup file will be downloaded and saved into the "Downloads" folder or into the folder in which you have set as your browser's download location. This may take some time depending on your internet speed.
2. Installing Google Drive for desktop app
Once the app setup file has completed downloading, install it following the steps below:
Step 1: Navigate into the folder where the setup file was saved in your PC storage and double-click on it to run it.
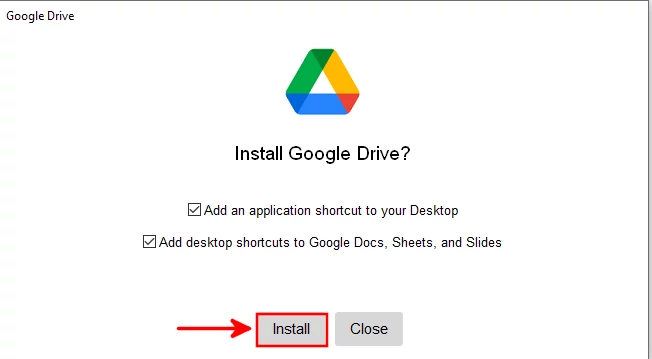
Step 2: An installer wizard will open. Choose whether you want to have desktop shortcut icons for Google Drive, Google Docs, Sheets, and Slides by checking or unchecking the checkboxes. Then click on the Install button to start the installation process.
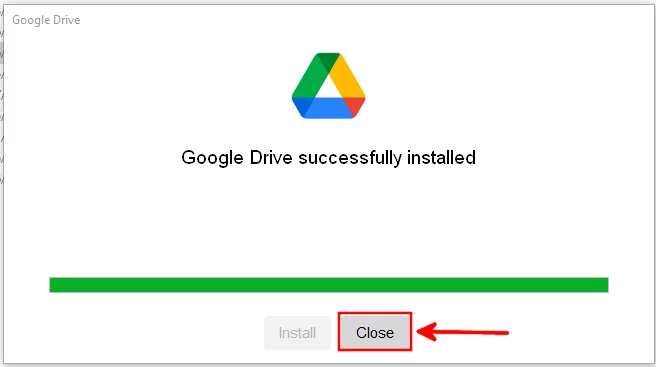
Step 3: The installation will start, which may take some time. When completed, click on the Close button to exit the installer wizard.
3. Signing in to Google Drive
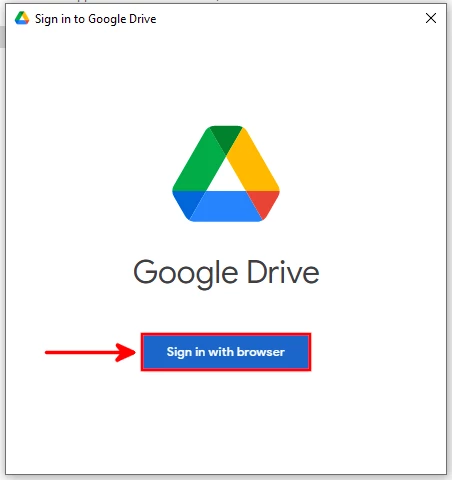
Upon Google Drive installation completion, a small window will open prompting you to sign in to your Google Drive account. Click on the "Sign in with browser" button.
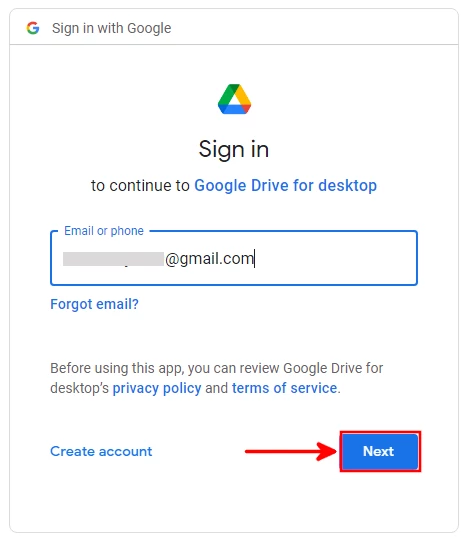
This will open on your default browser. If you are not already signed in to Google on this browser, you will be presented with the Google Sign-in page. Enter your email address (the one associated with the Google Drive account that you want to add) and click on the Next button.
Enter your email password and click on the Next button.

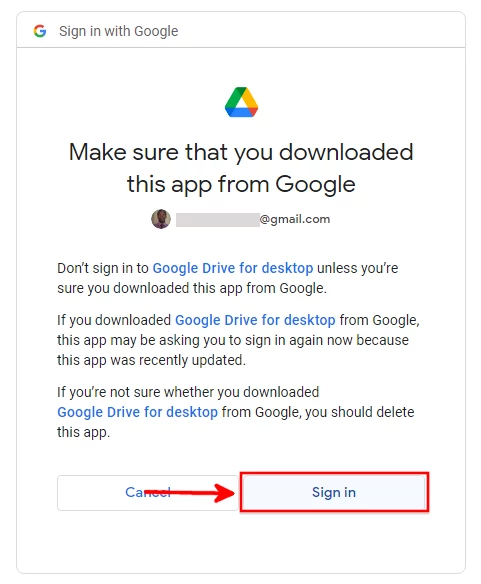
The next step requires you to confirm that it's you who downloaded the app. Click on the Sign in button to confirm.
You will now be signed in to Google Drive and will see a success message as below.

At this point, your Google Drive account is accessible right from your File Explorer. Open the Windows File Explorer by clicking on its icon or using the Win+E keyboard Shortcut.
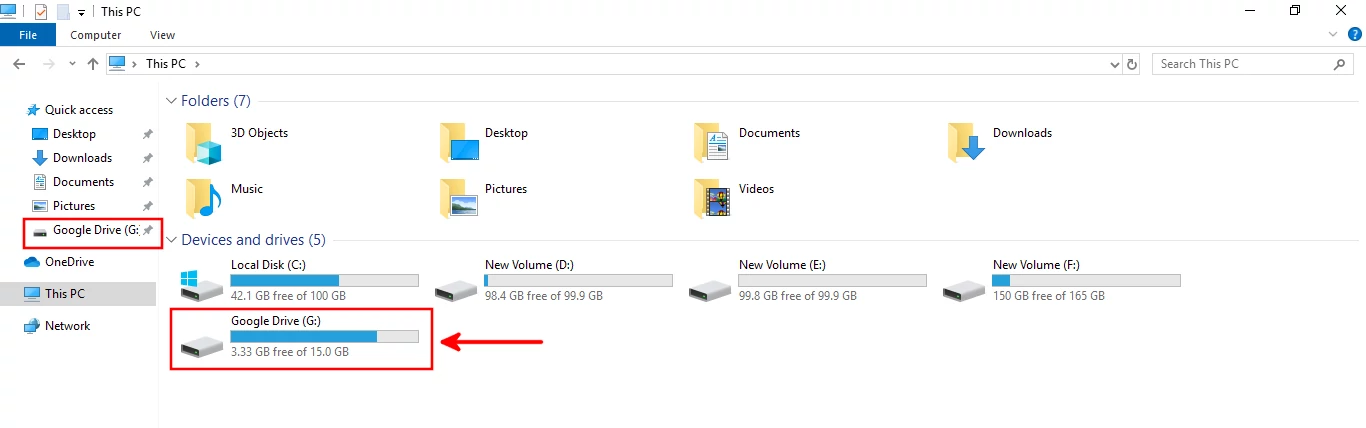
In the File Explorer, you will see a shortcut to Google Drive under the "Quick Access" menu on the left panel. You will also be able to see it among other drives under the Devices and drives section when you click on "This PC" in the left panel.
Alternatively, you can open Google Drive in File Explorer by clicking on the Google Drive desktop shortcut icon (if you checked to have it during installation).
4. Syncing Google Drive with PC
After installing Google Drive app and signing in to your account, you will be able to access, view, modify (edit, rename), delete, and add new folders/files in Google Drive directly from your Windows File Explorer without the need to open a web browser. You will be able to work on them just as if they were stored locally on your PC.
When you make any changes to these files in File Explorer, they will be automatically synced with your Drive in the cloud.
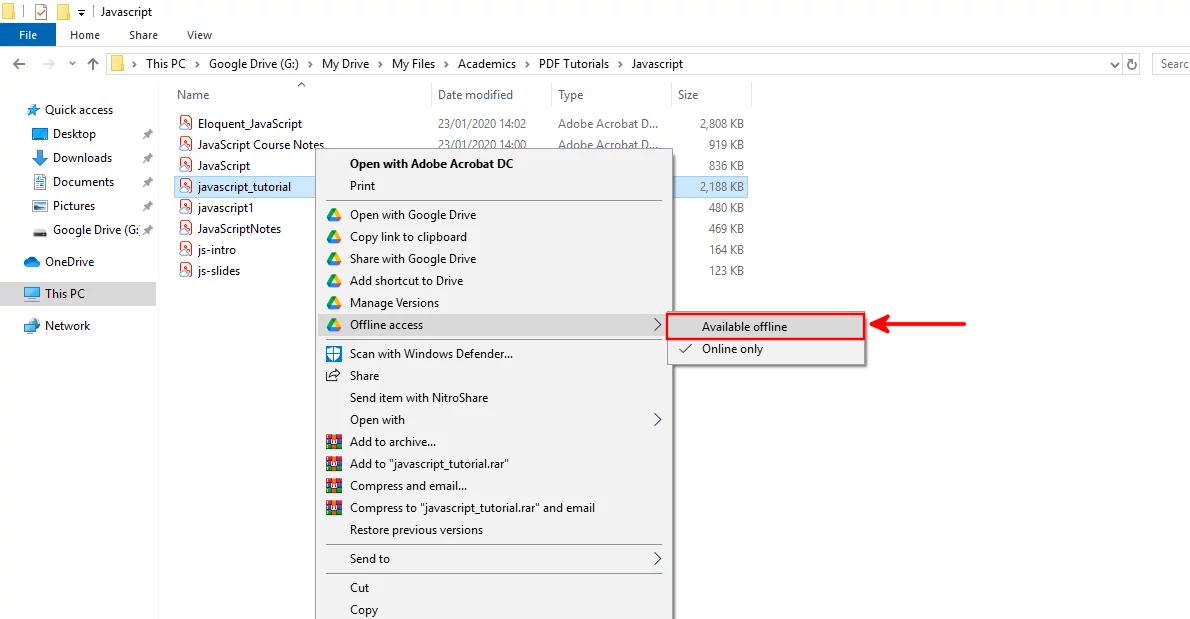
However, if you don't have an internet connection, you will be able to see all the files and folders in your Google Drive account via File Explorer but won't be able to open these files. This is because these files are not available offline by default unless you choose to download them.
To download a file or folder, right-click on it and select Available offline from the Offline access submenu of the context menu.
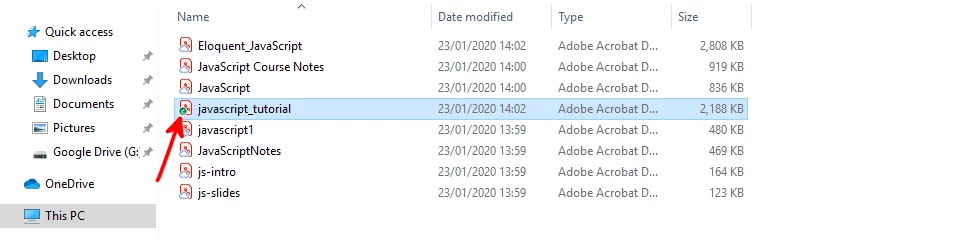
The small cloud icon on the file's icon will change to a green check mark indicating that the file is now available offline.
There are two methods of synchronizing Google Drive with File Explorer:
- Streaming files
- Mirroring files
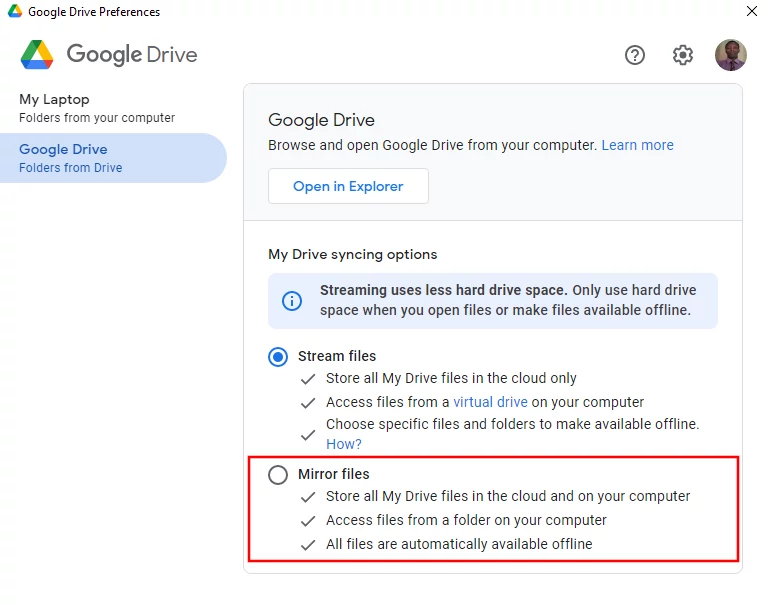
The "Stream" method is the one we have just described above, which is set by default on installing and signing in to Google Drive. All the files are stored in the cloud and accessed via a virtual drive on your computer. It requires you to have an internet connection to open the files. You can choose to make them available offline by manually downloading them from the cloud to your PC as I showed you above. Its goal is to save space on your computer storage.
The "Mirror" method on the other hand stores all your Drive files on both your cloud storage and on your PC. It automatically makes all your Drive files offline such that you can manage them without an internet connection. This method does not save on your PC’s storage space since you still have a copy of all files stored locally.
You can easily switch between the stream and mirror sync methods. To do so, follow the steps below:
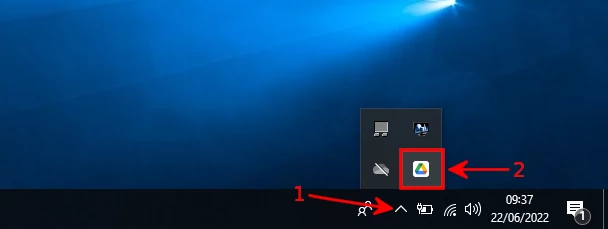
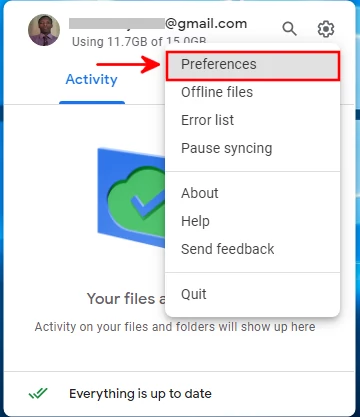
Step 1: Click on the Google Drive app icon in your PC’s system tray at the bottom-right of your screen.
Step 2: Click on the Settings (gear) icon at the top-right corner of the small window that opens. Then click on the Preferences option from the menu.
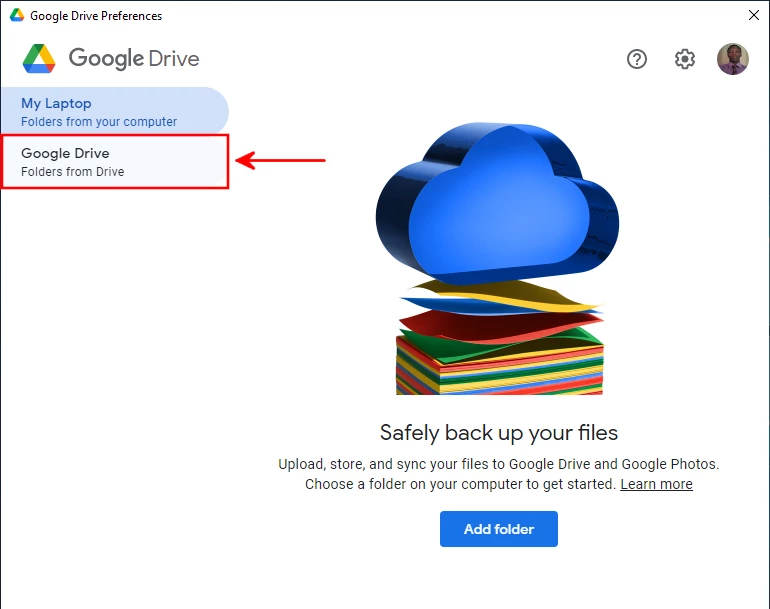
Step 3: Click on the Google Drive - Folders from drive option.
Step 4: Under the My Drive syncing options section you will see the options whose default is set to "Stream files". To switch to the "Mirror files" method, click on its radio button and vice versa.
That's it!
Conclusion
Google Drive is a cloud-based data storage service that allows storing files in the cloud and syncing them for access and usage across multiple devices.
By default, you need to use a web browser and have an internet connection to access your files on your Google Drive account.
To make things easier for you, Google has a desktop app that allows you to add your Google Drive account storage to the Windows File Explorer. Through File Explorer, you can access and manage your files on the cloud storage as if they were stored locally.
In this article, you have learned how to download, install and set up the Google Drive app in order to sync your cloud files, and access and manage them via File Explorer on Windows 10.
It's my hope that you found this article helpful and easy to follow.