How to draw arrows on images in GIMP
The use of arrows is an incredible part of designs, especially for illustration purposes eg. in images for use in tutorials.
In this article, you will learn how to draw arrows in your images on GIMP image editor.
GIMP is the best free alternative to Adobe Photoshop on Linux. It is in many ways similar to Photoshop and you can use it to edit or design incredible images.
Unfortunately, it lacks direct tools for adding shapes or drawing arrows. So you have to first install an arrow plugin, which is an easy process.
Related:
How to install an arrow plugin in GIMP
How to draw an arrow in GIMP
This method uses the arrow plugin to draw arrows. You can confirm if the plugin has already been installed in your GIMP application by clicking on the "Tools" in the menu. If you are able to see the Arrow option in the dropdown menu, you are set to go.
Follow the easy steps below to draw an arrow:
Step 1: Create a new image or open an existing one in GIMP by navigating to the "File" menu and selecting the appropriate option ("New" or "Open"). Alternatively, you can drag and drop an image into GIMP.
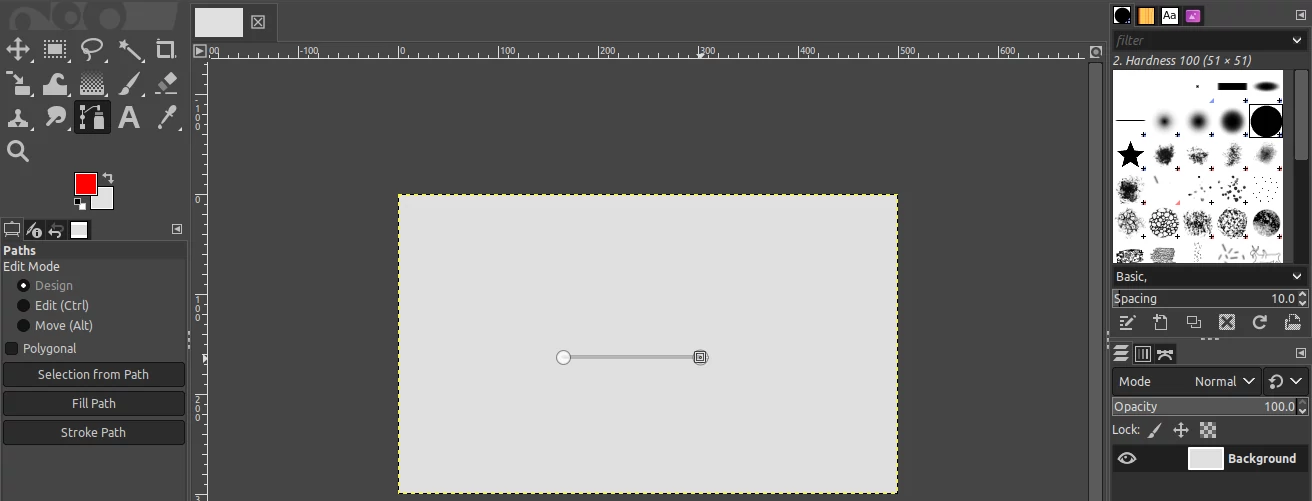
Step 2: The arrow plugin is used in collaboration with the path tool to draw an arrow. Click on the path tool on the left sidebar to select it. Alternatively, you can press the B key or select the "Paths" option from the "Tools" dropdown menu.

Step 3: Click on 2 points on the image canvas to form a path where the arrow will start and end. The first point will be the arrowhead while the other point becomes the end of the arrow.
Step 4: Now select the "Arrow" option from the "Tools" menu.
Step 5: A pop-up window with a lot of customization options for the arrow will open. With them, you can set the arrow thickness, the length of arrow wings, the angle between the arrow and its wings, etc.
You can play around with the arrow parameters/customizations or leave them as they are by default. Then click on the "OK" button to draw the arrow.
The arrow will be drawn on the image as per your customizations along the path. It will take the selected foreground color on GIMP.
Since the arrow is drawn on a new layer, it has a lot of flexibility. You can reposition it, resize it, rotate it, or even duplicate it without affecting the other aspects of the image.
Another important point to note is that the arrow doesn't have to follow a straight line. You can style the path into a curved or angled line and the arrow will just follow the path. See the example below.
You can also draw an arrow with a paintbrush. However, using an arrow plugin is the most recommended method to draw good arrows on GIMP.
That's all!
Now you can comfortably draw arrows on your images in GIMP. It's my hope you have enjoyed this article and found it useful.