How to draw box(square, rectangle) & circle outlines in GIMP
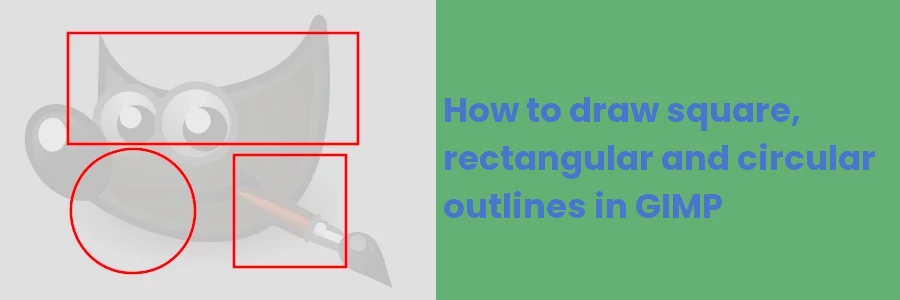
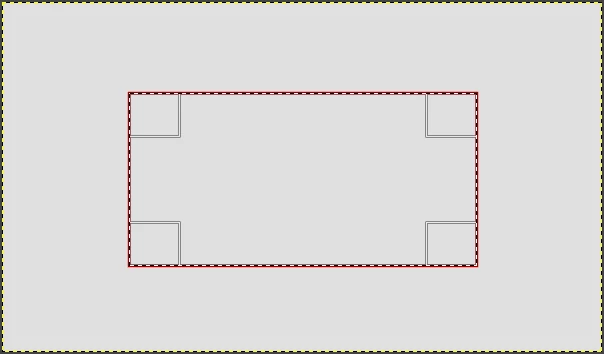
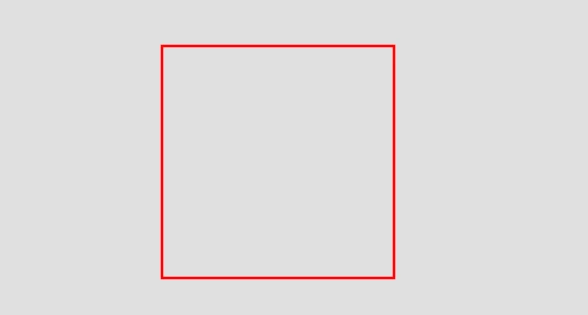
You most probably have seen images such as the one below countless times. They are mostly used in tutorial articles, where a rectangular outline/border is used to highlight and put more emphasis on a particular section/element of the image.

You will also see such severally in this particular article and most others on this website.
These are mostly used in "how-to" articles and greatly help illustrate the points visually. The outline looks smooth and of uniform width throughout.
You could be interested in drawing such outlines all by yourself for the same purpose or with a different objective.
In this article, you will learn how to draw rectangular, square, and circular outlines on images in GIMP through a step-by-step process.
How to draw a rectangular outline in GIMP
Follow the easy steps below:
Step 1: Open an existing image or create a new one in GIMP.
- To open an existing image, just click on an image in the File Manager (or Windows Explorer), drag, and drop it into GIMP. Alternatively, open the "File" menu and click on the "Open" option to select the image file from your PC storage. Another way is to use the "Ctrl + O" keyboard shortcut while in GIMP and it will give you the same option of selecting a file from hard drive storage.
- To create a new image, open the "File" menu and click on the "New" option. Alternatively, use the "Ctrl + N" shortcut. A pop-up window will appear, requiring you to enter image properties such as width and height, and other advanced options such as colors, etc. Once done just click okay and an image canvas will be created with those properties.
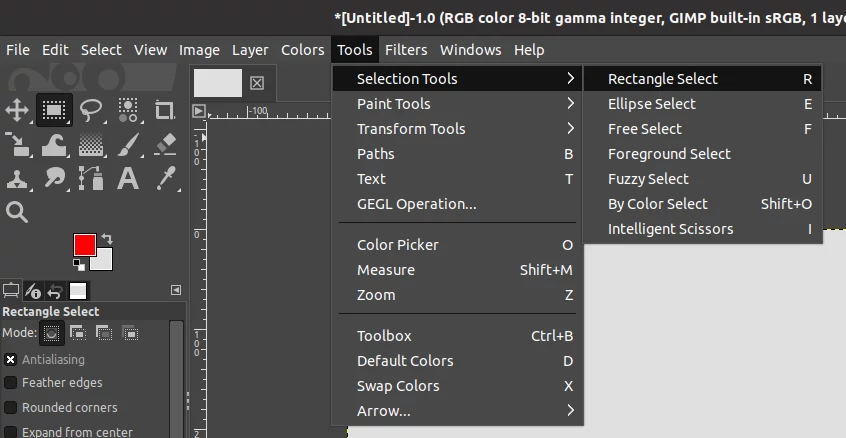
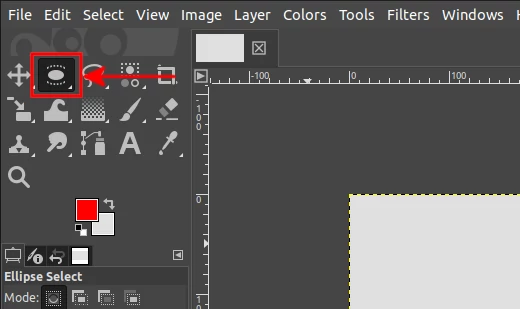
Step 2: Select the Rectangle Select Tool.
You can do so by clicking on its icon on the tools section in the left sidebar. ![]()
Alternatively, you can select it by pressing the R key on the keyboard. This you can also do by navigating through "Tools -> Selection Tools -> Rectangle Select".
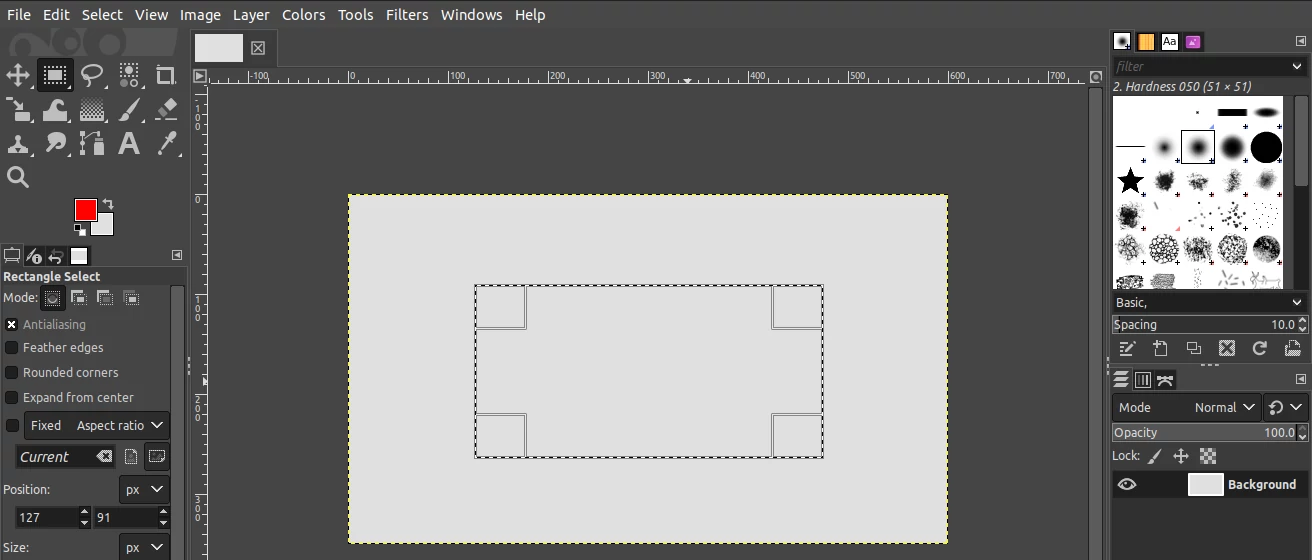
Step 3: Click on the image and drag your mouse when holding the left-click to highlight the region you want your rectangle to occupy. Release the mouse when done and it will turn to a broken-line border. You can move the rectangular selection around by clicking on its inside and dragging it around. You can as well resize it by clicking on small rectangles at its corners inwards or outwards.
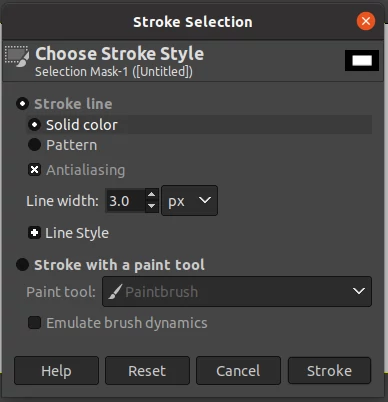
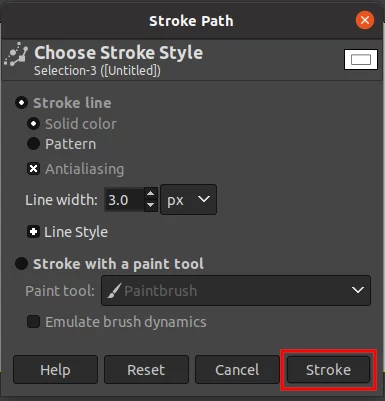
Step 4: Once satisfied with the rectangular selection, open the "Edit" menu and click on the "Stroke selection" option.

Step 5: A pop-up window will open, prompting you to customize the rectangle outline style. You can play around with the parameters according to your preference. I recommend you leave them as they are if you are not much savvy with them. Maybe you can just change the line width. In my case, I will leave it with the default 3 pixels.
Click on the "Stroke" button.
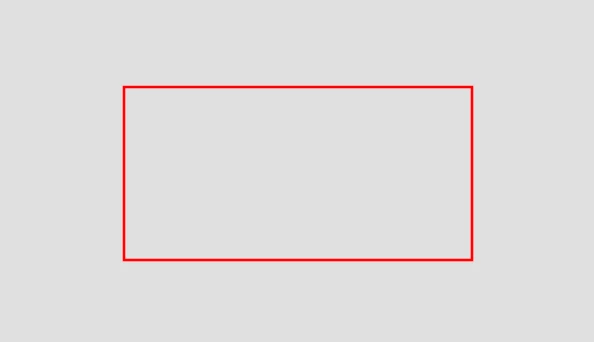
The rectangular outline will now be drawn and ready as per your style parameters. However, it will still have the broken-line selection still visible.
Step 6: Click anywhere outside the rectangle and the outline will disappear leaving a perfect rectangular outline of uniform border width. You can also open the "Select" menu and click on the "None" option to remove the selection.
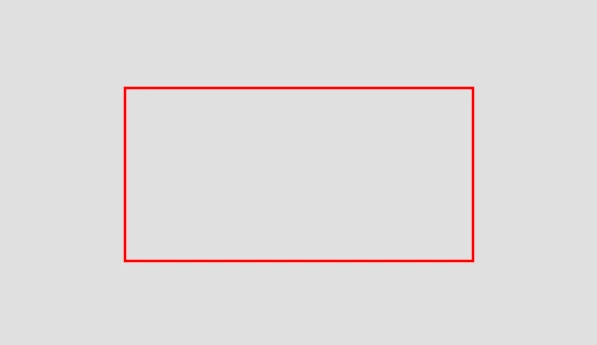
The outline takes the set foreground color.
Method 2: Using the stroke path option
This method is quite similar to the one above up to step 3. So we will carry one from step 4.
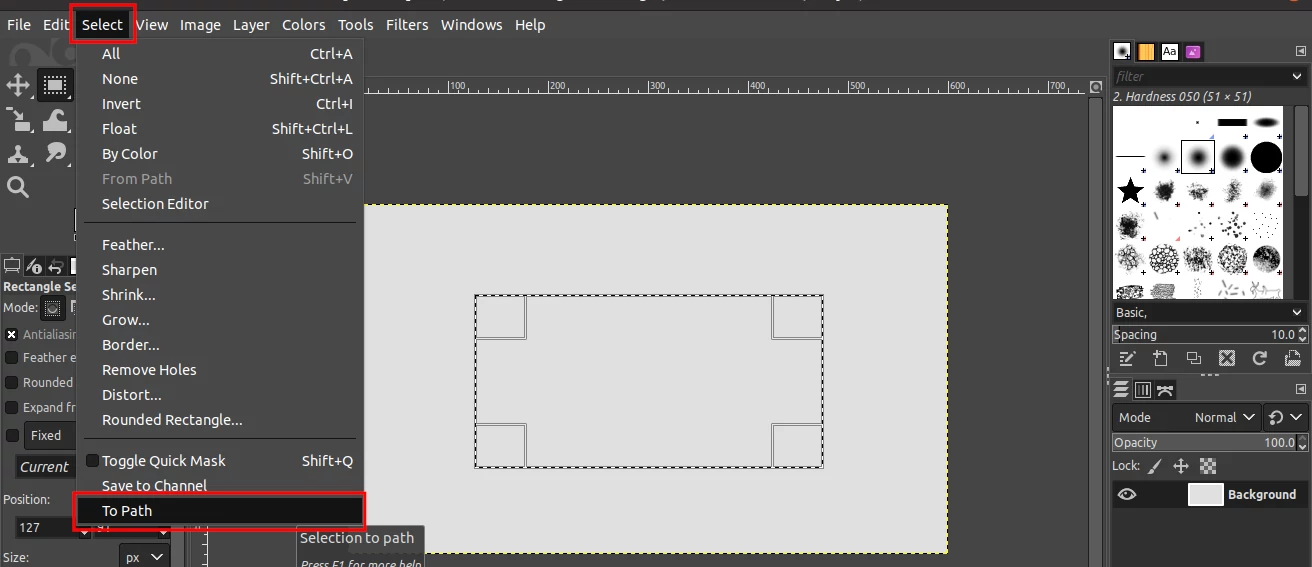
Step 4: Once satisfied with the rectangular selection, open the "Select" menu and click on the "To path" option.
Step 5: Click anywhere on the outside of the rectangle selection to remove the selection. Alternatively, open the "Select" menu and click on the "None" option.
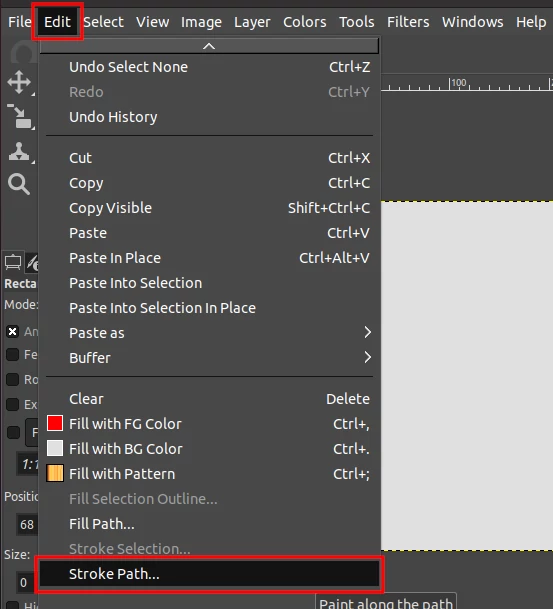
Step 6: Open the "Edit" menu and click on the "Stroke path" option.
Step 7: A pop-up window with options to customize the stroke path will open. Click on the "Stroke" button once done with your preferred customizations or leave it with the default settings.
You will now have a perfect uniform width rectangular outline as per your style parameters.
How to draw a square outline in GIMP
A square is the same as the rectangular outline in all aspects, except that its width and height are equal.
To draw a square outline, follow the steps above in either of the two methods. The only difference is that in step 3, when drawing the selection, you left-click, then press and hold the Ctrl and Shift keys, then drag the mouse.
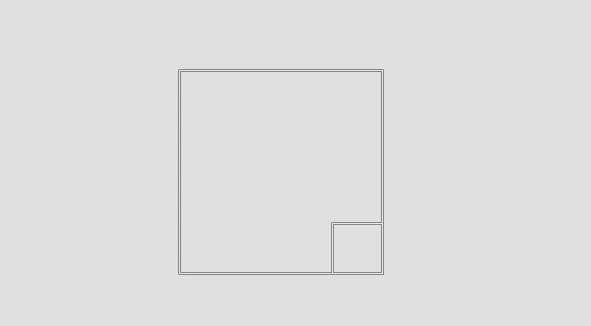
This will make a selection with equal length and width, extending equally from the center in all directions. Release the left-click first when you are done, and then release the Ctrl and Shift keys.
Proceed with the other steps exactly as described for the rectangle and you will have a perfect square outline.
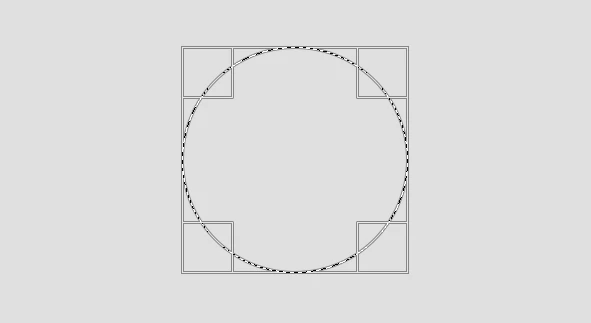
How to draw a circular outline in GIMP
To draw a circular outline follow the same steps as for the square above.
The only difference this time is that instead of selecting the Rectangle Select Tool, you choose Ellipse Select Tool.
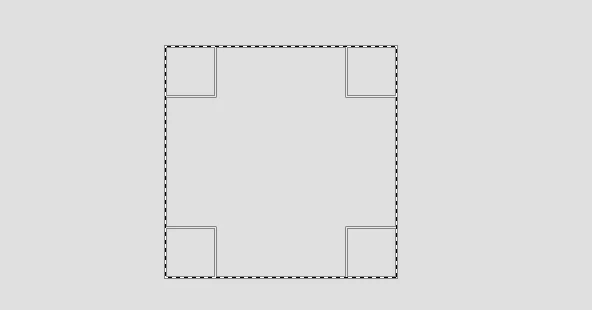
With it, you will create a selection as shown below.
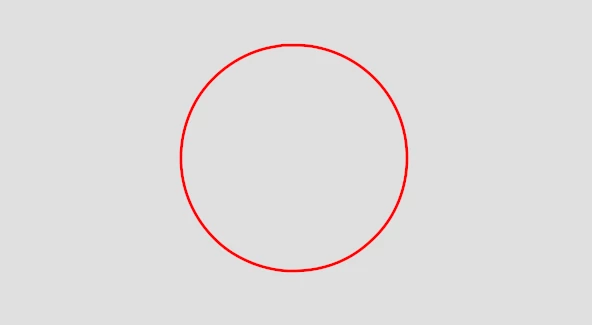
Apart from making a circular selection with the ellipse select tool, every other step is exactly the same as for the rectangle and square. You will finally have a circle as shown below.
That's all!
Now you can comfortably draw rectangles, squares, and circles in GIMP. It's my hope that you enjoyed this article and found it helpful.