How to Replace a Color in an Image using GIMP
Color is an essential element of graphic design that has the ability to communicate a message, trigger emotions, and impact how people receive and perceive information.
While working on your designs or editing images, you may want to replace one color with another. Doing this can have a significant impact on the overall effectiveness of a design.
GIMP is a powerful open-source image editing software that allows users to perform various image editing tasks, including replacing a color in an image.
In this article, I will guide you through the process of replacing a color in an image in GIMP using different methods.
Replacing a color on an image in GIMP
Follow the steps below:
Step 1: Open the Image in GIMP
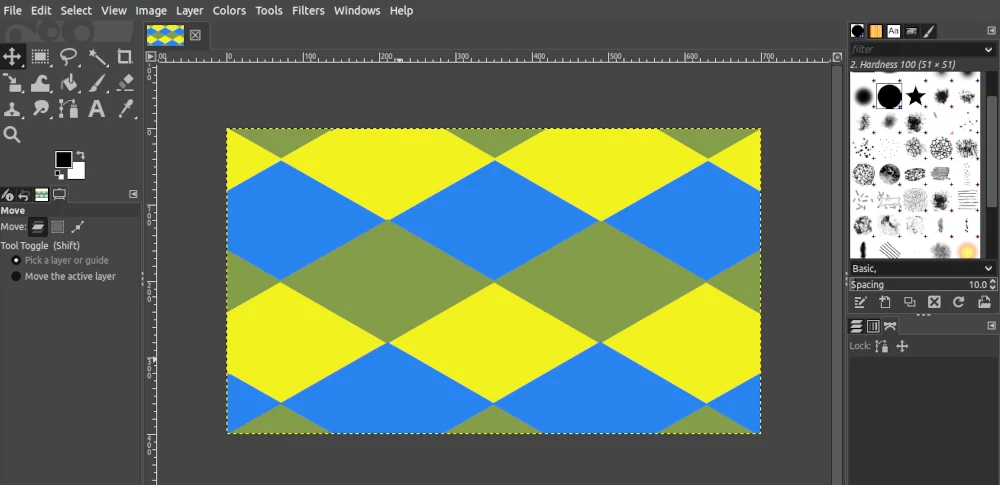
Open the image which you want to edit and replace the color in GIMP. Click on File > Open and select the image you want to edit. Alternatively, you can open where the image is stored, click and drag it into the GIMP's workspace.
Step 2: Select the Color to Replace
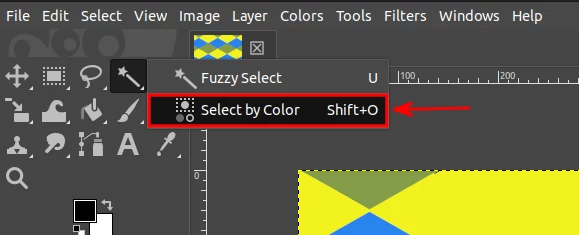
To replace a color, you need to select the color that you want to replace. Click on the "Select by Color Tool" in the GIMP toolbox or use the Shft+O keyboard shortcut to activate it.
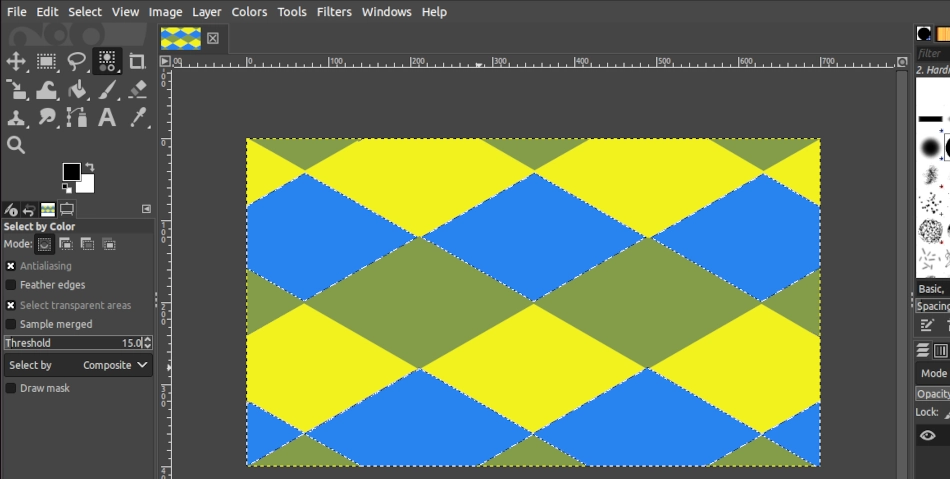
Then click on the area of the image that contains the color you want to replace. This will select all the pixels that contain that color in the image.
See below the selection of blue shapes. You can see dashed lines around the selected areas.
Step 3: Adjust the Selection
In case this doesn't select all the areas/instances with the color you clicked on, chances are that the image consists of variations of that color and that they are treated as a different color. To select the color and all the pixels in the image that are similar to it, increase the selection Threshold.
To increase the threshold, click on the area with the color you want to select on the image and drag the mouse to the right. To reduce the threshold, drag the mouse to the left.
You can alternatively use the threshold slider in the tool options to adjust the selection threshold.
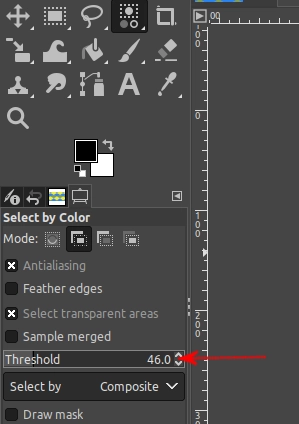
The threshold is the number of colors that get selected when making a selection. When set to 1, it selects only those pixels made up of that exact color.
Increasing the threshold allows you to select pixels of similar shades.
Step 4: Replace the Color
Once you have the selection, the next step is to replace the color. There are a number of different ways you can do it. Below we will cover three of them:
- Using Edit fill with FG/BG color
- Using the Bucket Fill tool
- Using Colorize
Method 1: Fill with FG/BG color
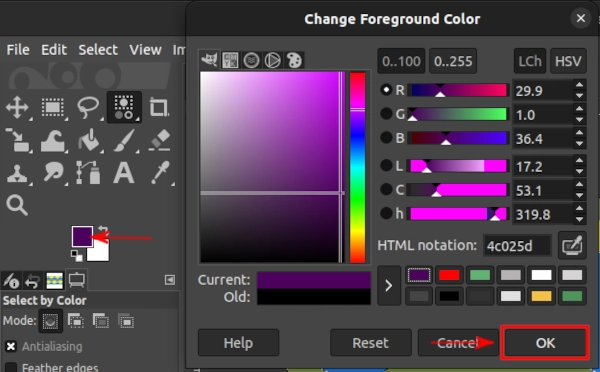
Select the color that you want to replace the selection with as the foreground or background color in the color selection tool.
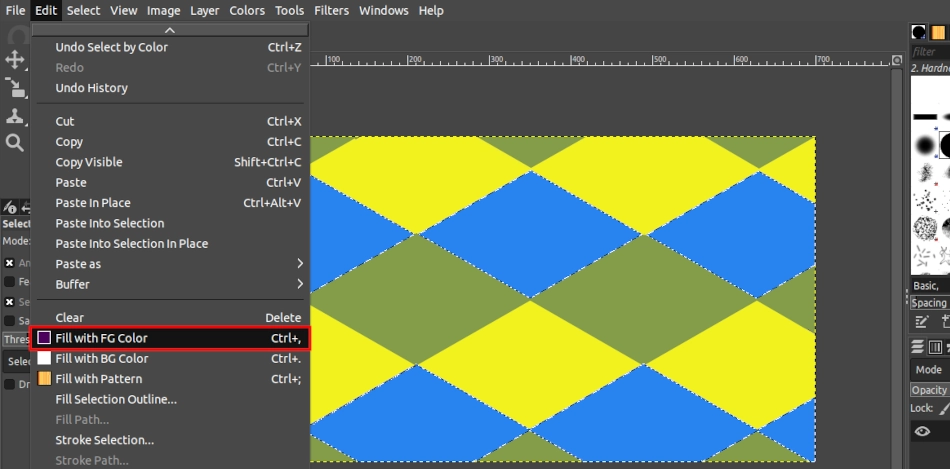
Click on the Edit menu and select the "Fill with FG Color" or "Fill with BG Color" option depending on which has the color that you want to fill the selection with.
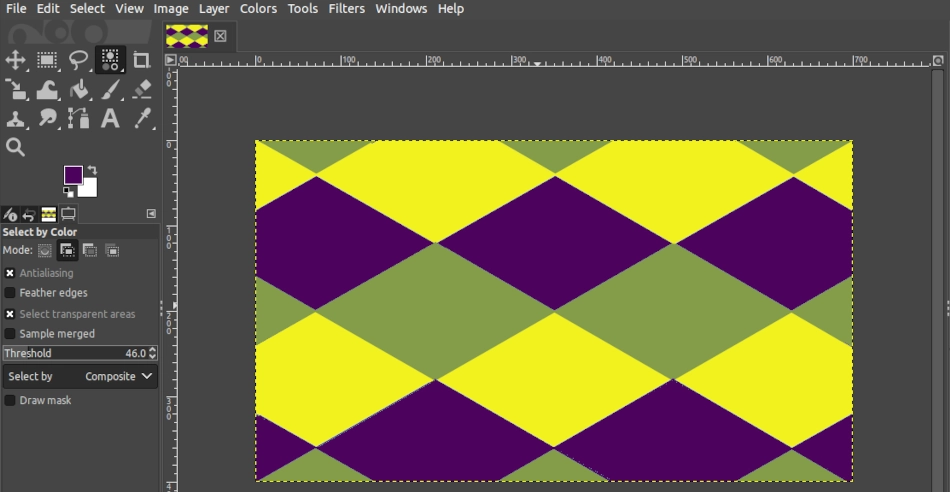
The selection will be replaced with the color you chose. Use the Shift+Ctrl+A shortcut to get rid of the selection and you will have your image as below.
Method 2: Using the Bucket Fill tool
In the same way, as in the method above, select the preferred FG color that you want to fill the selection with, in the color selection tool.
Click on the "Bucket Fill Tool" and then click on the selection on the image.
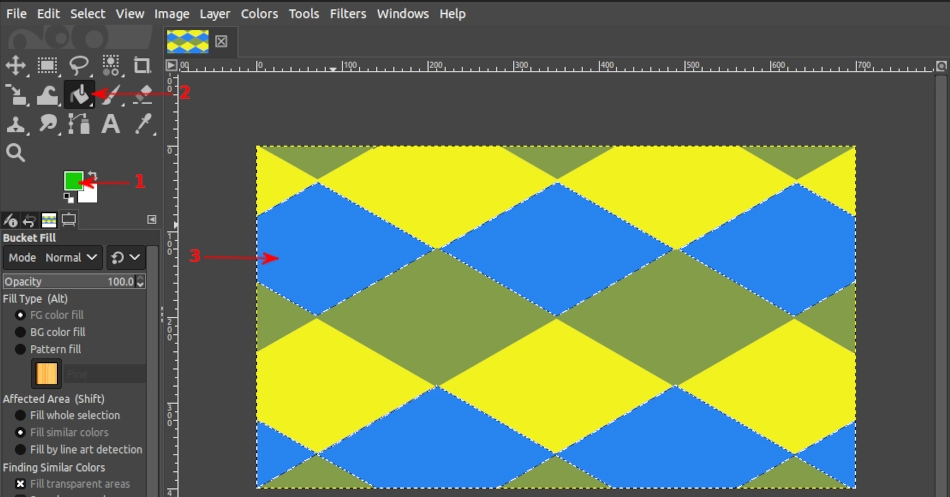
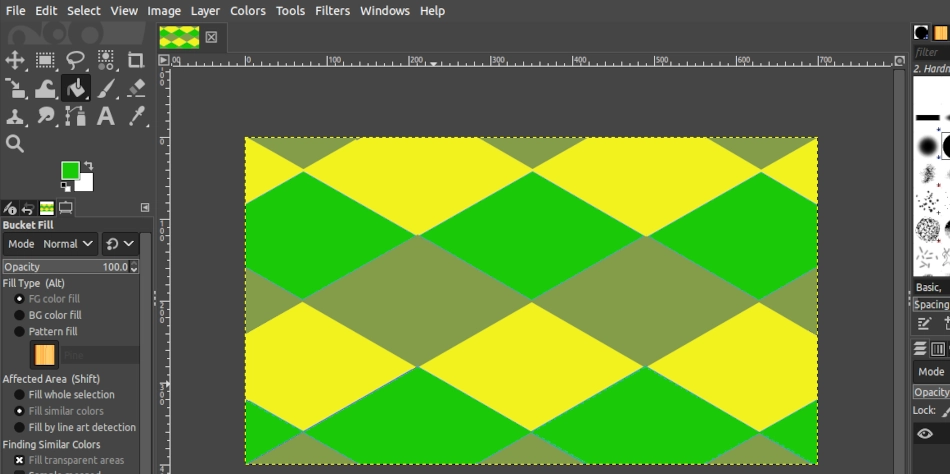
The color in the selection will be replaced with the foreground color. Remove the selection and have it as below.
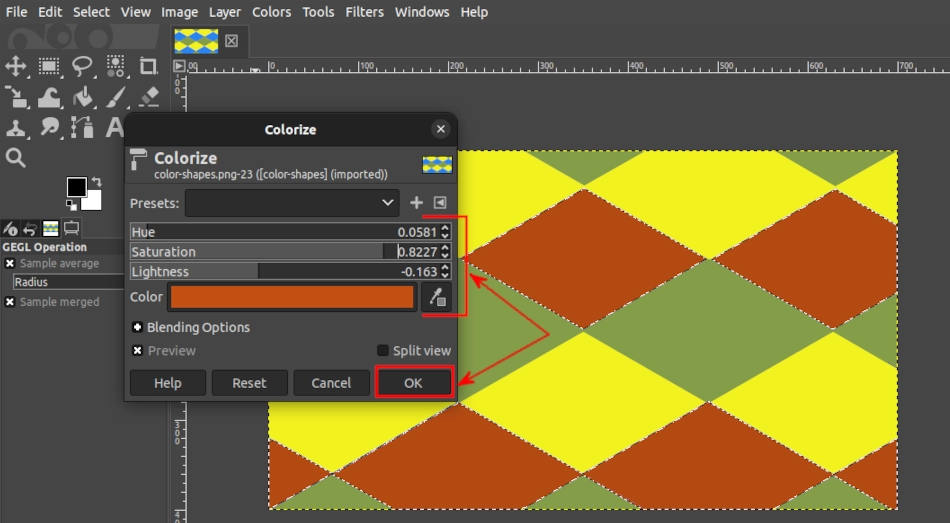
Method 3: Using Colorize
Another way of replacing a color selection on an image is through the use of colorize option. Click on the "Colors" menu and select the "Colorize" option.

This will open the Colorize dialog box. It contains 3 sliders, each of which plays a specific role as outlined below:
- Hue: This slider lets you select the new color that you want to apply (replace the old color). Move it to the left and right to cycle through different colors.
- Saturation: This lets you set the intensity of the color. Moving it to the right will make the color sharper and more noticeable, whereas moving it to the left will make it duller.
- Lightness: As the name suggests, this slider determines how bright or dark the color is.
Below these sliders is a color indicator bar showing the new color currently being applied.
If you’d like your new color to be a specific HEX or RGB value, simply click on the color bar to open up the color picker. Enter the HEX or RBG value in the "HTML Notation" field and hit the OK button.
Once you are satisfied with the new replacement color, click on the OK button of the Colorize dialog box to apply the changes.
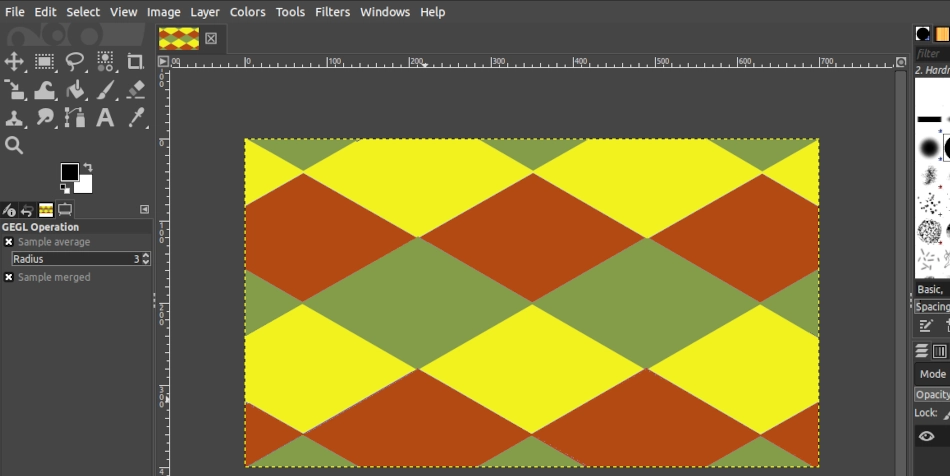
Get rid of the selection and you should have your image with the color replaced as below.
The above are just but a few of the many methods that you can use to replace color on an image in GIMP. Other common methods include the "Hue-Chroma" and "Hue-Saturation" options of the Colors menu.
Once you are done and are comfortable with the new color, you can go ahead and save it through the "File > Export As" option of the menu or using the Shift+Ctrl+E keyboard shortcut.